Airtable automations and scripts
Alongside the introduction of scripts, one of the big leaps forward in Airtable functionality in 2020 was the Automations feature.
Like many Airtable users I’ve used Zapier, Integromat and other methods to automate actions on my bases, but the Airtable Automations feature brings this in-house, reducing the number of tools and apps I need to get a job done.
As a script enthusiast, I think it’s fantastic that Airtable have built scripts into the Automations toolkit from the start, but the interaction of triggers and scripts isn’t completely obvious, so this post will show how to incorporate scripts into Automations.
Let’s do some set up to show how this works. My base is very simple - I have a task name field, a “completed” checkbox field and a “script output” text field:
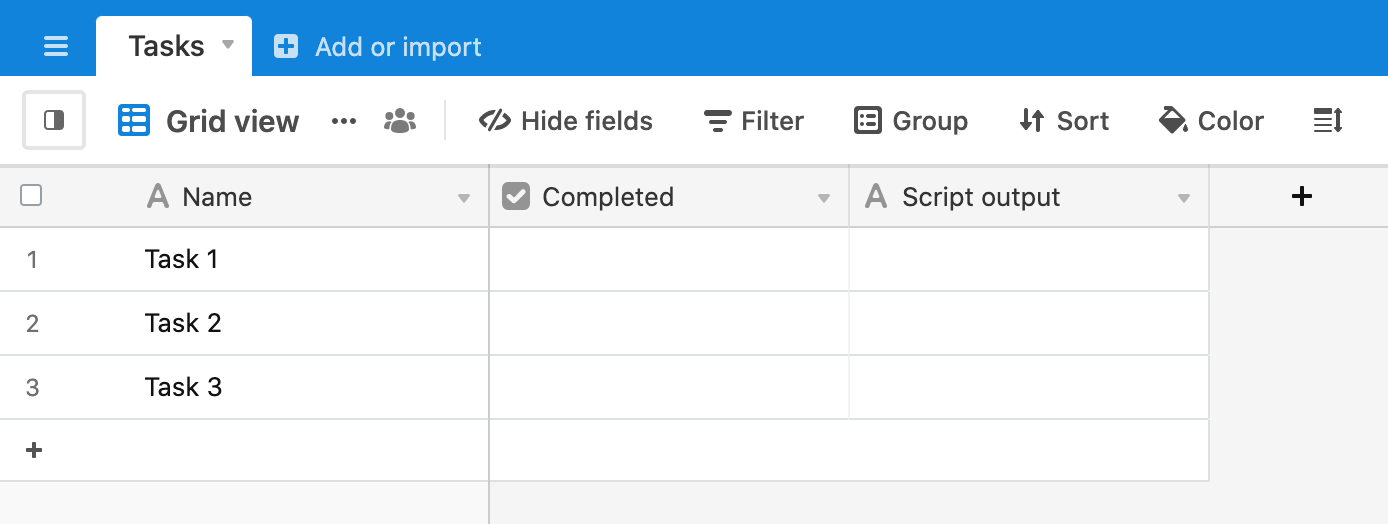
When I complete the task by clicking on the checkbox, I want the automation to run against the selected record, trigger my script and do something. In my case, the “do something” is write “Task completed” into the script output field. This isn’t a real world scenario - you are unlikely to want to do this - but we’re going for a simple “do something” here. Your “do something” is probably a lot more complicated and useful.
We’ll start by creating an automation:
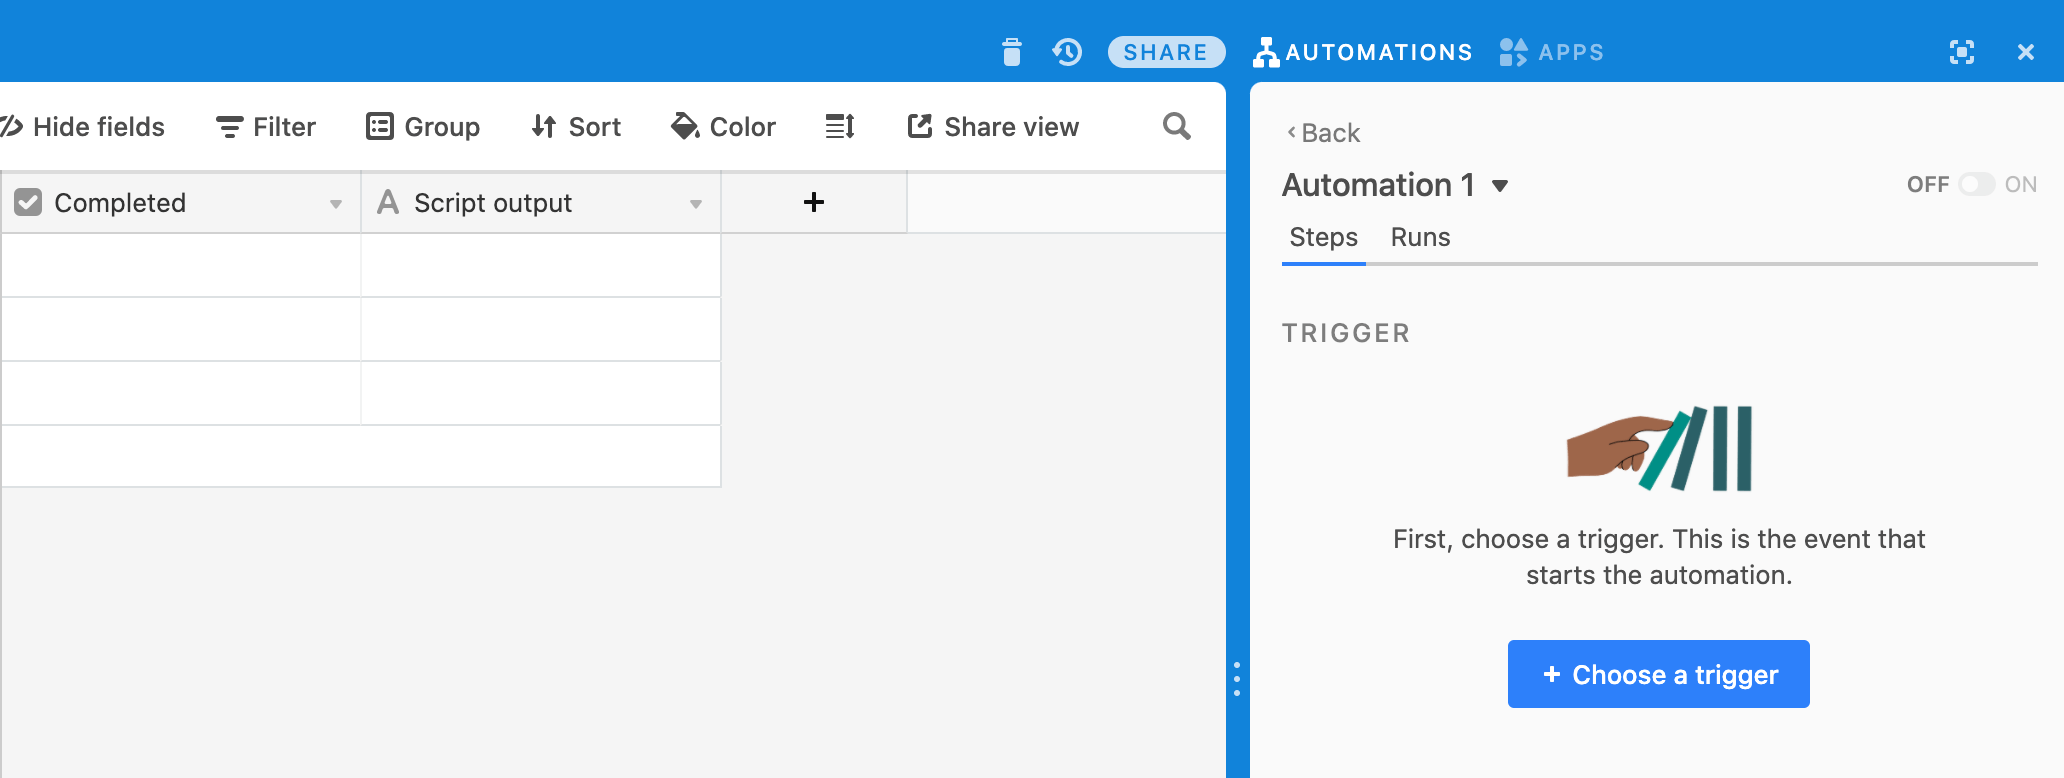
and selecting “When a record matches conditions” as out trigger.
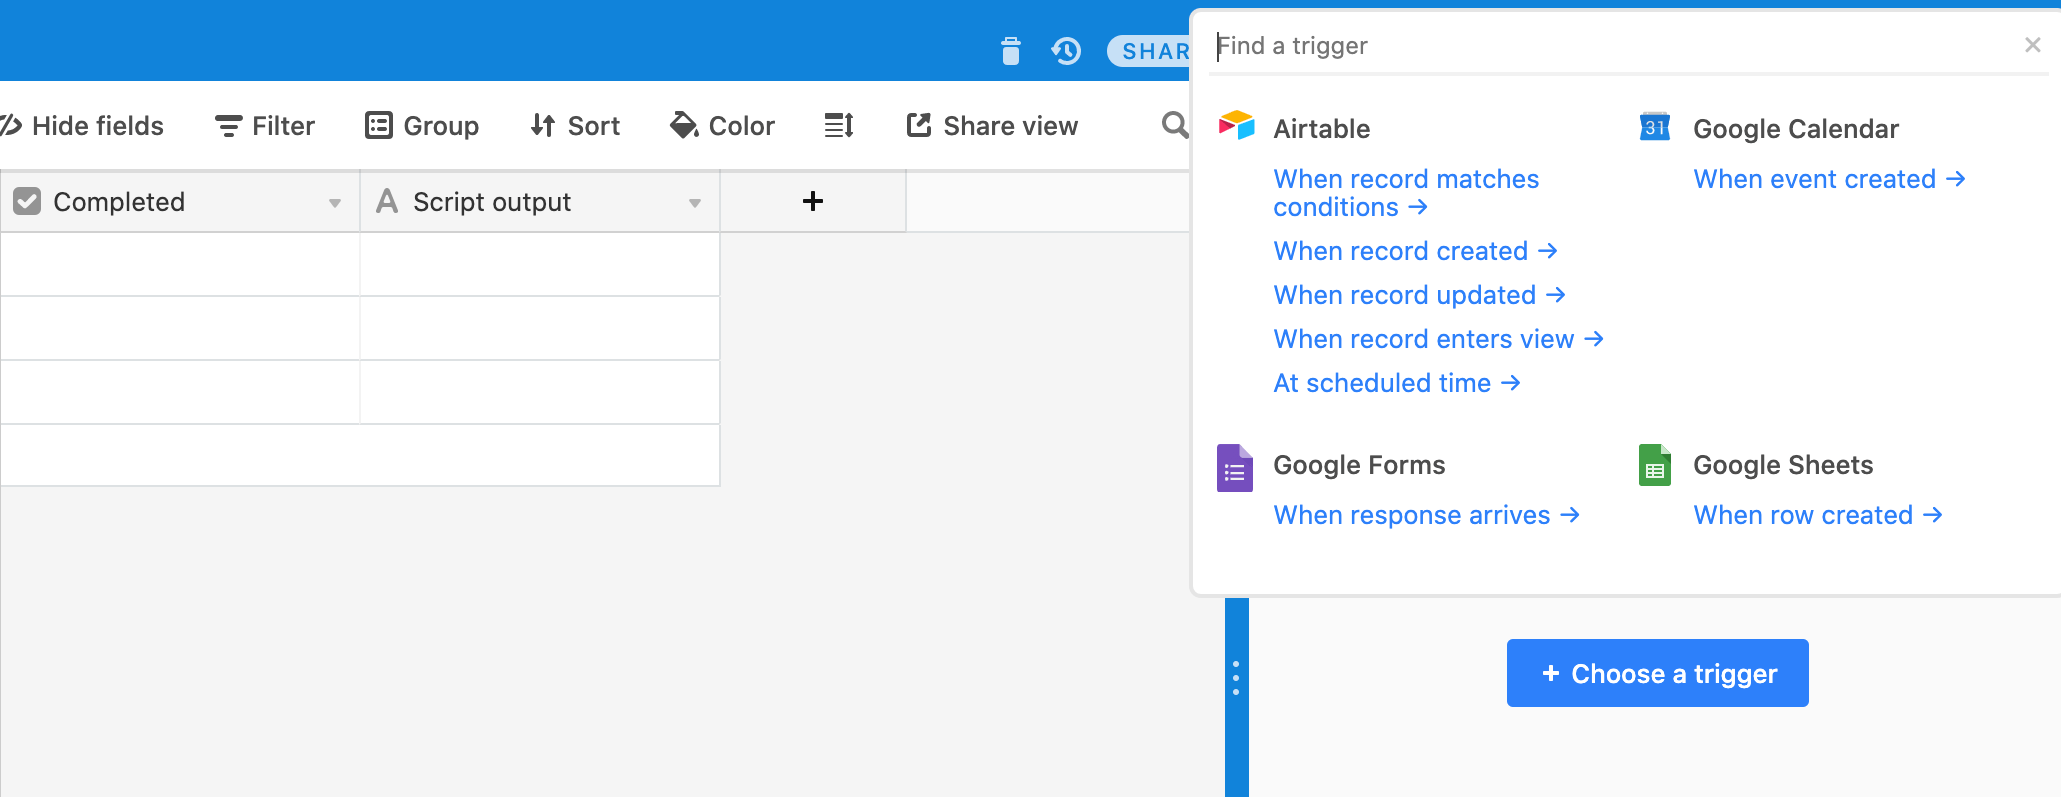
Pick your table from the dropdown and add the condition - in this case when the “Completed” field is checked.
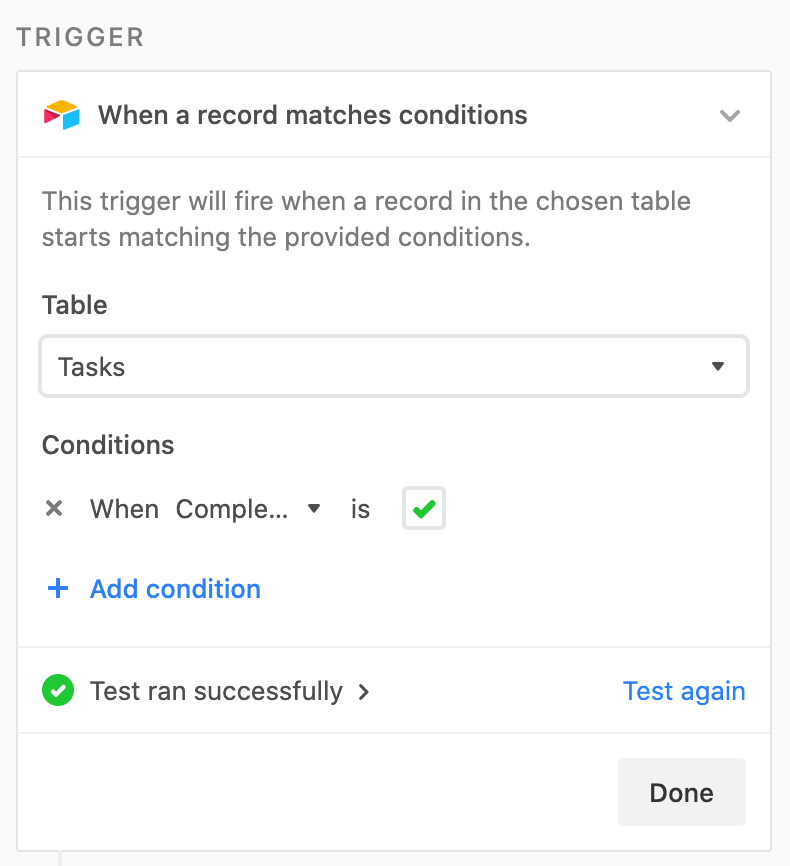
Test the condition to make sure it is set up correctly. (If you’re following this on your base, make sure that at least one of the record is marked as completed or the test will fail.)
We can now set up with action. Click on the “Add action” button and select “Run script” from the options:
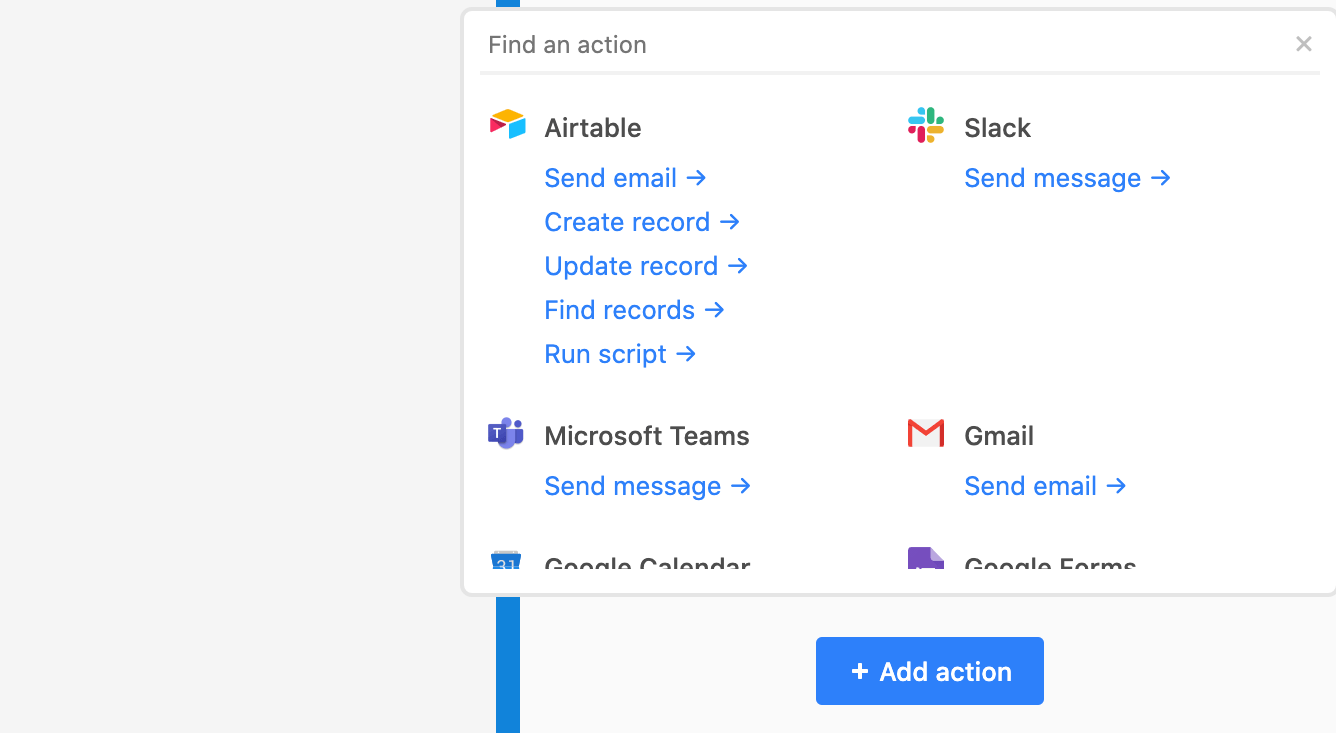
You’ll be presented with a script editor window, albeit one that is slightly different from the regular script editor.

The left-hand panel of the editor allows us to create input variables from triggers and actions that occur before the “run script” action. If you wanted to run an script against the base as a whole, then input variables would not be needed, but in our case, we want to update the specific record that has been marked as completed, so we need to know what the record is before we run the script.
Click on “Add input variable” to set one up:
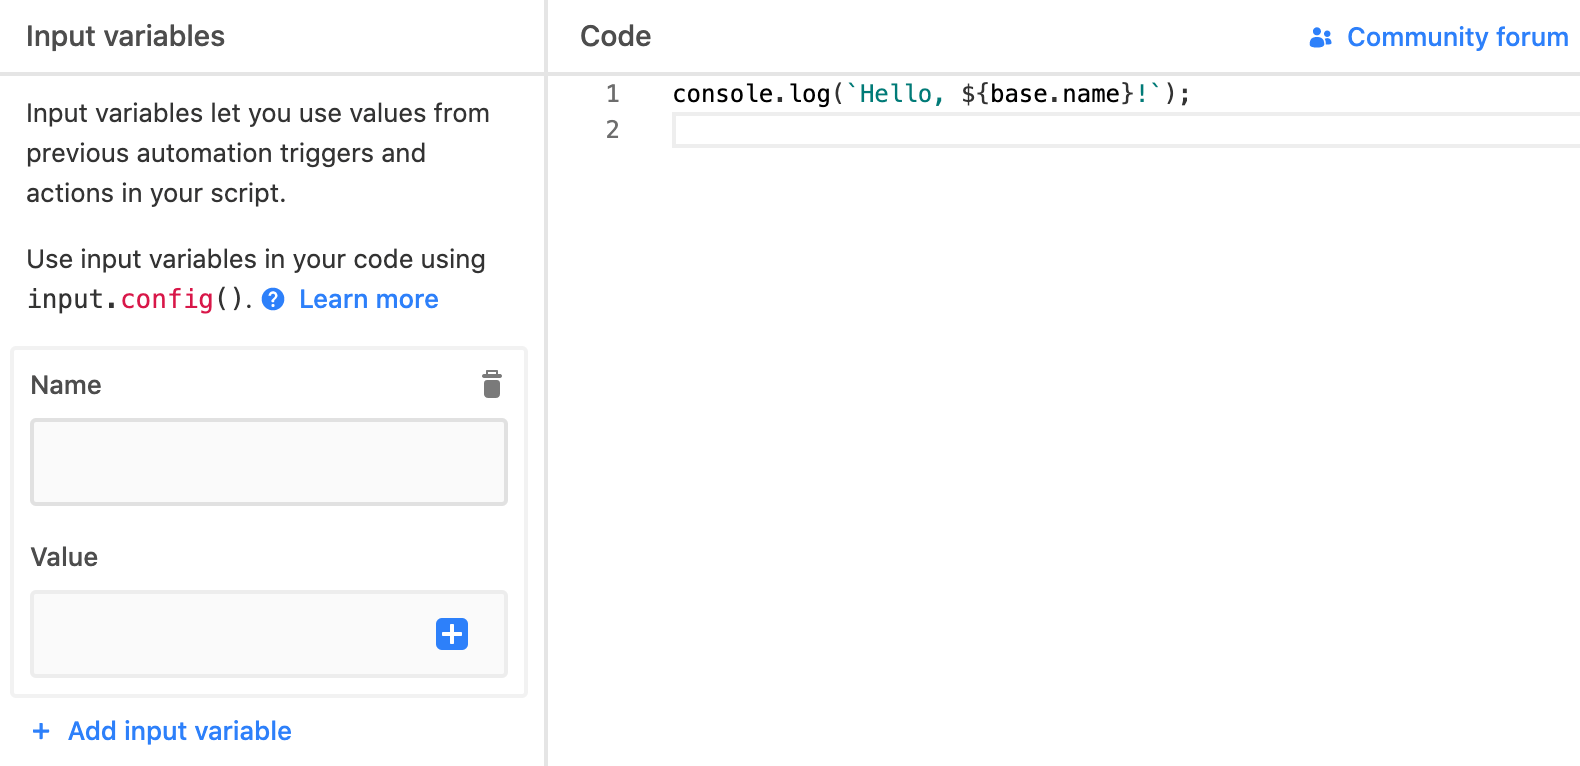
For our scenario, we want to pass the record id to the script, so we’ll set up a variable named “recordId” and get its value from the record identified by the trigger:
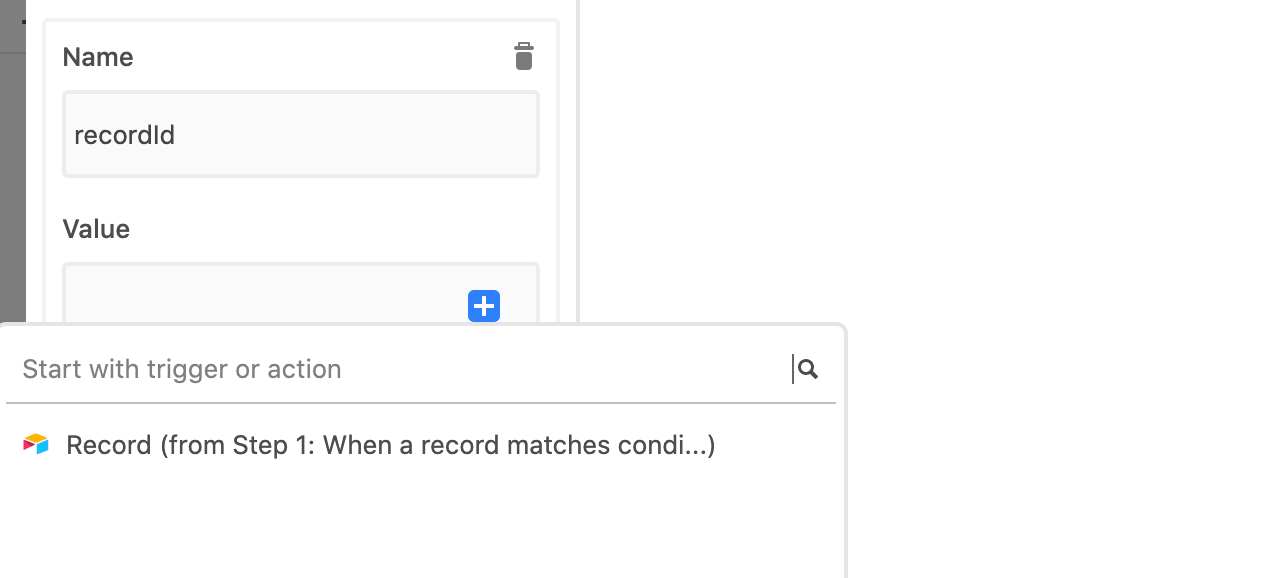
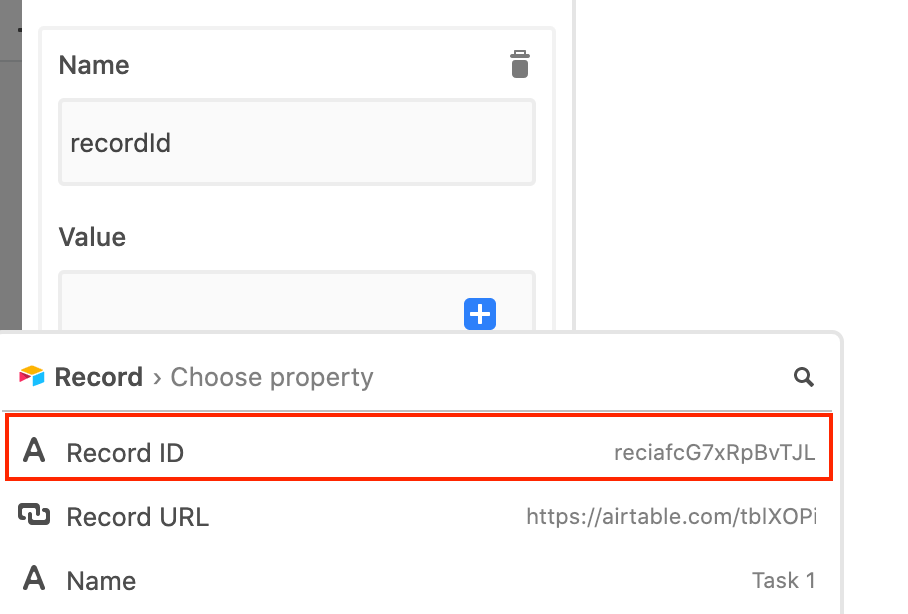
Hover over the Record ID field and click on “Insert”:

With our input variable set up, let’s test it out with a simple script. Enter this into the code editor:
let inputConfig = input.config();
console.log(`Record ID is, ${inputConfig.recordId}`);
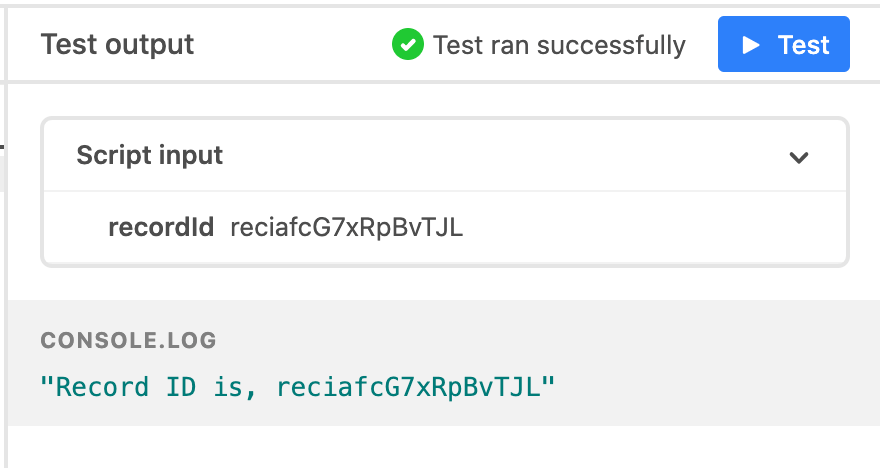
The object input.config() holds all of the input variables we have defined (in our case, just one, but you might have many). Let’s assign this to a variable inputConfig. We can then access its recordId property using the dot notation method and we can log this out to the console to see what is returned. You should get something like this returned in the output panel when you click on the “Test” button:
Now that our input variable is configured and we’ve tested the output, let’s finish our script. Enter this into the code editor:
let inputConfig = input.config();
let record = inputConfig.recordId;
let table = base.getTable('Tasks');

let update = await table.updateRecordAsync(record,
    {
        'Script output': 'Task completed'
    }
)
The script gets the input variable record ID and updates the record in the Tasks table, setting the field Script output to Task completed.